Title here
Summary here
This document details the steps required to create a RAID 5 with three disks on Linux.
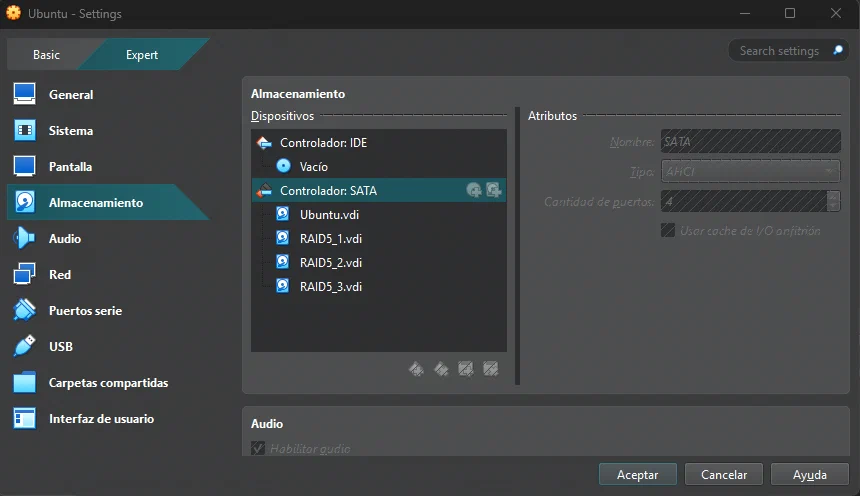
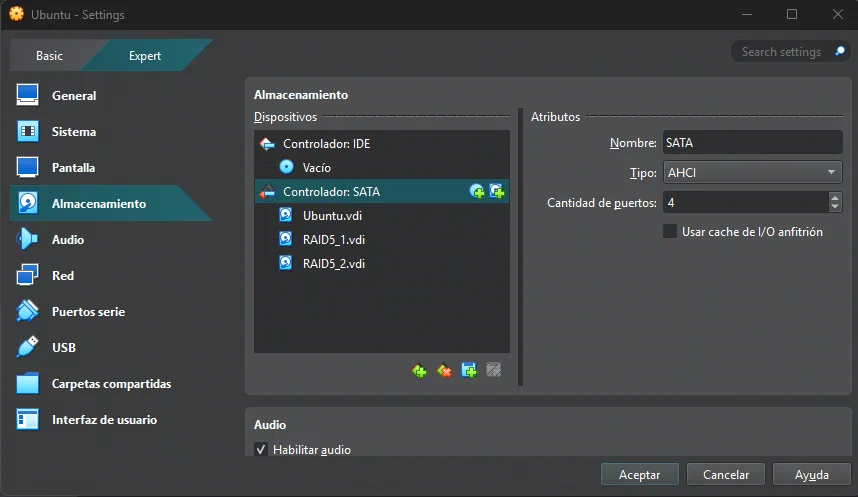
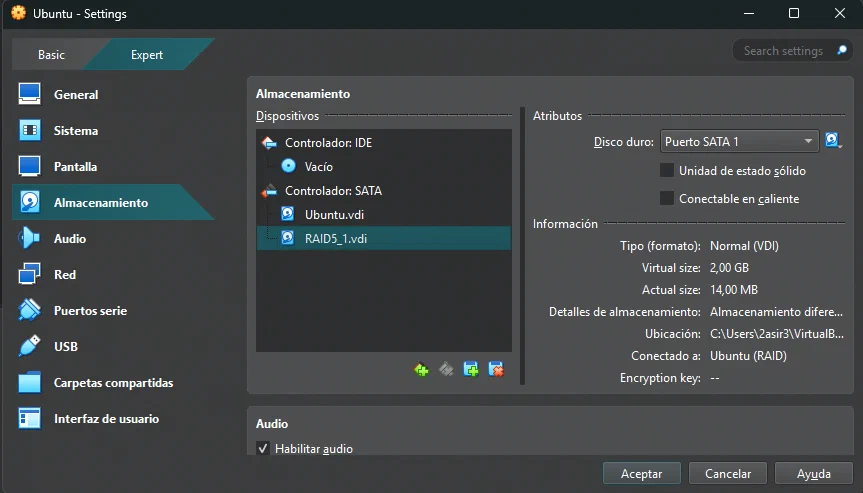
For this reason, this example will be carried out in a virtualized environment with VirtualBox, using three virtual disks with a capacity of 2GB each on a machine with Ubuntu installed.
mdadm must be installed:
sudo apt update
sudo apt install mdadm -yAs the next step, it is necessary to locate the disks that will be used for the RAID:
$ lsblk
sda      8:0    0    40G  0 disk
├─sda1   8:1    0     1M  0 part
└─sda2   8:2    0    40G  0 part /
sdb      8:16   0     2G  0 disk
sdc      8:32   0     2G  0 disk
sdd      8:48   0     2G  0 disk
sr0     11:0    1  1024M  0 rom
In my case, they are sdb, sdc and sdd.
The disk formatting process will be the same in all three cases: fdisk will be used.
$ sudo fdisk /dev/sda

Commande (m pour l'aide) : n
Type de partition
   p   primaire (0 primary, 0 extended, 4 free)
   e   étendue (conteneur pour partitions logiques)
Sélectionnez (p par défaut) : p
Numéro de partition (1-4, 1 par défaut) : 1
Premier secteur (2048-4194303, 2048 par défaut) :
Last sector, +/-sectors or +/-size{K,M,G,T,P} (2048-4194303, 4194303 par défaut) :

Une nouvelle partition 1 de type « Linux » et de taille 2 GiB a été créée.

Commande (m pour l'aide) : t
Partition 1 sélectionnée
Hex code or alias (type L to list all): fd
Type de partition « Linux » modifié en « Linux raid autodetect ».

Commande (m pour l'aide) : w
La table de partitions a été altérée.
Appel d'ioctl() pour relire la table de partitions.
Synchronisation des disques.Using mdadm, a virtual disk, /dev/md0, will be created using the three previously formatted disks:
sudo mdadm --create /dev/md0 --level=5 --raid-devices=3 /dev/sdb1 /dev/sdc1 /dev/sdd1To view the process:
$ cat /proc/mdstat
Personalities : [raid6] [raid5] [raid4]
md0 : active raid5 sdd1[3] sdc1[1] sdb1[0]
      4188160 blocks super 1.2 level 5, 512k chunk, algorithm 2 [3/3] [UUU]

unused devices: <none>
To view the information about the created RAID5:
$ sudo mdadm --detail /dev/md0
/dev/md0:
           Version : 1.2
     Creation Time : Tue Jan 20 08:39:24 2026
        Raid Level : raid5
        Array Size : 4188160 (3.99 GiB 4.29 GB)
     Used Dev Size : 2094080 (2045.00 MiB 2144.34 MB)
      Raid Devices : 3
     Total Devices : 3
       Persistence : Superblock is persistent

       Update Time : Tue Jan 20 08:39:39 2026
             State : clean
    Active Devices : 3
   Working Devices : 3
    Failed Devices : 0
     Spare Devices : 0

            Layout : left-symmetric
        Chunk Size : 512K

Consistency Policy : resync

              Name : docker-VirtualBox:0  (local to host docker-VirtualBox)
              UUID : e667b64c:4d125144:b56e73a0:2ec88c62
            Events : 18

    Number   Major   Minor   RaidDevice State
       0       8       17        0      active sync   /dev/sdb1
       1       8       33        1      active sync   /dev/sdc1
3 8 49 2 active sync /dev/sdd1To use the /dev/md0 disk, it is necessary to create a file system, for example, ext4:
mkfs.ext4 /dev/md0Now the disk can be mounted. To do this, I create a folder in the root directory called /raid and mount the virtual disk there as follows:
mkdir /raid
sudo mount /dev/md0 /raid
To make it persistent, it is necessary to edit the /etc/fstab file and add the following:
$ cat /etc/fstab
/dev/md0 /raid ext4 defaults 0 0
And the check confirming that it is already mounted:
$ df -h
Sys. de fichiers Taille Utilisé Dispo Uti% Monté sur
tmpfs              392M    1,7M  390M   1% /run
/dev/sda2           40G     18G   20G  47% /
tmpfs              2,0G       0  2,0G   0% /dev/shm
tmpfs              5,0M    8,0K  5,0M   1% /run/lock
Partagé            465G    423G   42G  91% /home/docker/Documents/Compartida
tmpfs              392M    140K  392M   1% /run/user/1000
/dev/md0 3,9G 24K 3,7G 1% /raidOnce it is confirmed that the RAID5 is running, it is time for the real test: checking whether it actually behaves as a RAID5.
To do this, as a first step, I will create a file inside the RAID:
echo "Hello Plaiaundi" >> /raid/test.txtFor now, with three disks, the file remains intact:
$cat /raid/test.txt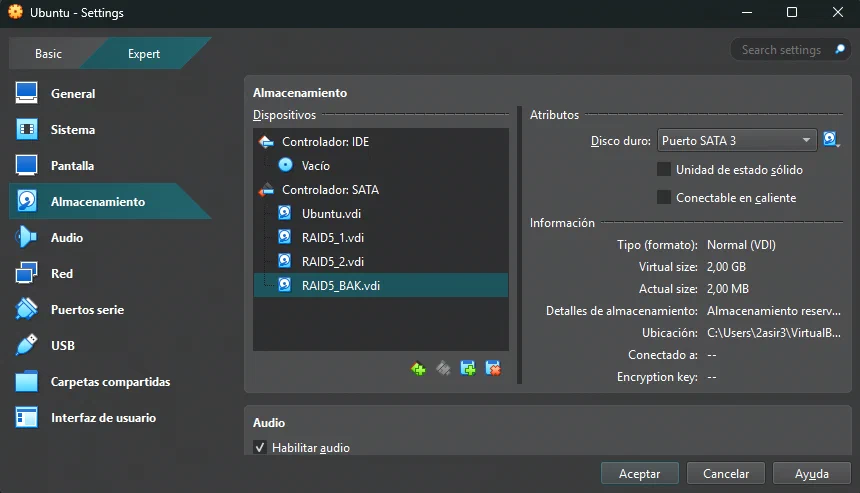
Hello PlaiaundiI was unlucky and one of my disks broke, so it no longer appears on my machine:
I deleted the RAID5_3.vdi disk to simulate this case.
If we now try to access the system, it is not possible because, although theoretically, thanks to the nature of RAID5 itself, it should be possible to access the data, mdadm does not dare to mount the RAID with only two disks:
$mdadm --detail /dev/md0
/dev/md0:
           Version : 1.2
        Raid Level : raid5
     Total Devices : 2
       Persistence : Superblock is persistent

             State : inactive
   Working Devices : 2

              Name : docker-VirtualBox:0  (local to host docker-VirtualBox)
              UUID : e667b64c:4d125144:b56e73a0:2ec88c62
            Events : 18

    Number   Major   Minor   RaidDevice

       -       8       33        -        /dev/sdc1
       -       8       17        -        /dev/sdb1
To solve this, the current RAID must be stopped:
sudo mdadm --stop /dev/md0And the RAID5 must be assembled again, but with the two remaining disks:
sudo mdadm --assemble --force /dev/md0 /dev/sdb1 /dev/sdc1
sudo mount /dev/md0 /raid
And the file will still be there:
$ sudo cat /raid/test.txt
Hello PlaiaundiNow, knowing that one of the disks is dead, it is time to add a new disk to the RAID:
First, it must be formatted.
Then the current RAID must be stopped, but not before unmounting the unit:
sudo umount /raid
sudo mdadm --stop /dev/md0
Finally, it only remains to mount it again, now with the new disk:
$ sudo mdadm --create /dev/md0 --level=5 --raid-devices=3 /dev/sdb1 /dev/sdc1 /dev/sdd1
mdadm: /dev/sdb1 appears to be part of a raid array:
       level=raid5 devices=3 ctime=Tue Jan 20 08:39:24 2026
mdadm: /dev/sdc1 appears to be part of a raid array:
       level=raid5 devices=3 ctime=Tue Jan 20 08:39:24 2026
Continue creating array? yes
mdadm: Defaulting to version 1.2 metadata
mdadm: array /dev/md0 started.
If everything goes well, the file that was created will still be there and the RAID will be healthy:
$ sudo mount /dev/md0  /raid
$ cd /raid/
$ ls
lost+found  test.txt
$ cat test.txt
Hello Plaiaundi First of all, it is important to comment out the line added to the /etc/fstab file, otherwise the system will not boot.
If the system is now started with this configuration:
It can be seen that the RAID no longer exists:
$ sudo mdadm --detail /dev/md0
mdadm: cannot open /dev/md0: No such file or directory
$ lsblk
NAME      MAJ:MIN RM   SIZE RO TYPE MOUNTPOINTS
sda         8:0    0    40G  0 disk
├─sda1      8:1    0     1M  0 part
└─sda2      8:2    0    40G  0 part /
sdb         8:16   0     2G  0 disk
└─sdb1      8:17   0     2G  0 part
  └─md127   9:127  0     0B  0 md
The RAID5 is left obsolete.
Edit content/_index.md to see this page change.
Add Markdown files to content to create new pages.
Edit your config in config/_default/params.toml.
Learn more in the Docs.